I’ve finally picked back up with the boat project after a several month hiatus through the winter and early spring. The lines plan on the lofting is now essentially complete. There are a few other details I may lay down on the lofting here and there for reference as I find them useful, but for the purposes of the fundamental structure it’s all there. So I’ve moved on now to pattern- and mold-making.
First up was the inner stem profile, out of 1/4″ Luan plywood.
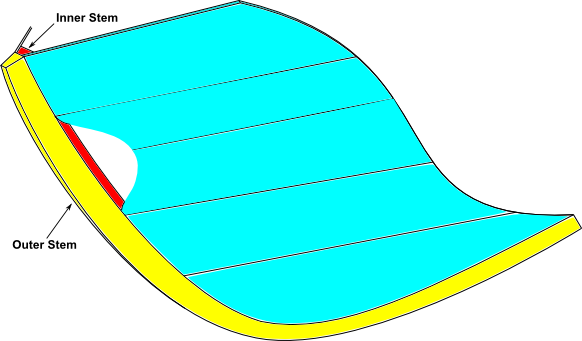
It may be helpful to include a little terminology here for readers not familiar with boat-y jargon and/or the construction details of this sort of small glued-lapstrake boat. At the bow of the boat (and at the stern, for that matter, in the case of a double-ender like this), the planks end on the stem. On this design, the stem is actually made up of two parts: the inner stem (which sits inside the planking) and the outer stem (which sits outside the planking).
My task here was to make a flat pattern that I will use in creating a jig on which to laminate (i.e. glue lots of thin bits together) the inner stem. This was my first attempt with the bed-of-nail-heads technique that is covered in just about all the boat-building books. This is no more sophisticated than it sounds: lay some nails on their sides along the line on the lofting, put the pattern stock on top, and apply weight to make the nail heads dig in and leave marks. I tapped the hail heads gently into the lofting surface, but even so I was certain that they all moved around as I laid the sheet on them and walked gingerly over them. But, lo and behold, they all stayed right where they belonged and I got two nice sets of indents for my pattern.


Just needed to “connect the dots”, cut out with the jig-saw, and clean up with a plane and long-board.
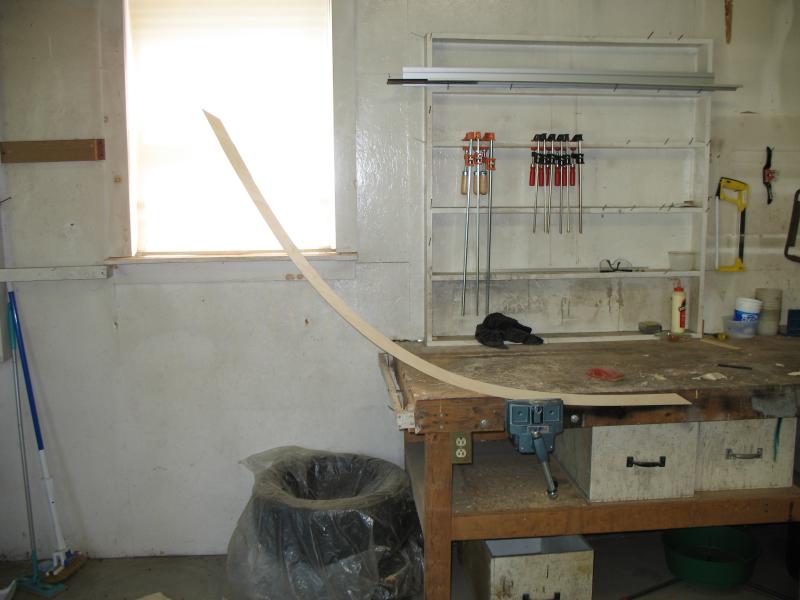
I transferred both the inside and outside curves of the profile. My plan is to use the inner curve to set up the mold for laminating the inner stem and then use the pattern to cut the outer profile shape if the stack of laminations ends up a little bit thick. The sawn outer profile on the pattern is a little bit shallow up towards the sheer (top) where my jig-saw wandered a bit, but it’s close enough that I think I can use it as a guide and then cut/fit to the lofted line which is fair. I’ll then laminate the outer stem around the finished inner stem.
The vise in the picture above was Saturday morning’s project. I hemmed and hawed for a while about whether to spend the money and time to purchase and install a proper woodworking vise like that. Then, in the first few hours after it was installed, I found myself using it probably a dozen times for various things. Tools matter – time and money well spent.
Since I don’t yet have the materials for laminating the actual part, I moved onto making the station mold for station 1 (the first transverse section behind the bow). These molds will establish the shape around which the boat gets built. Getting out the mold shape is broadly the same process as for the stem profile, only with 1″ pine stock this time. Since the lofting has only one half of each station drawn, you pick up the profile of the one half and cut two pieces together to get the full symmetry. I started with station 1 because it has little curvature, so is relatively straightforward to make.
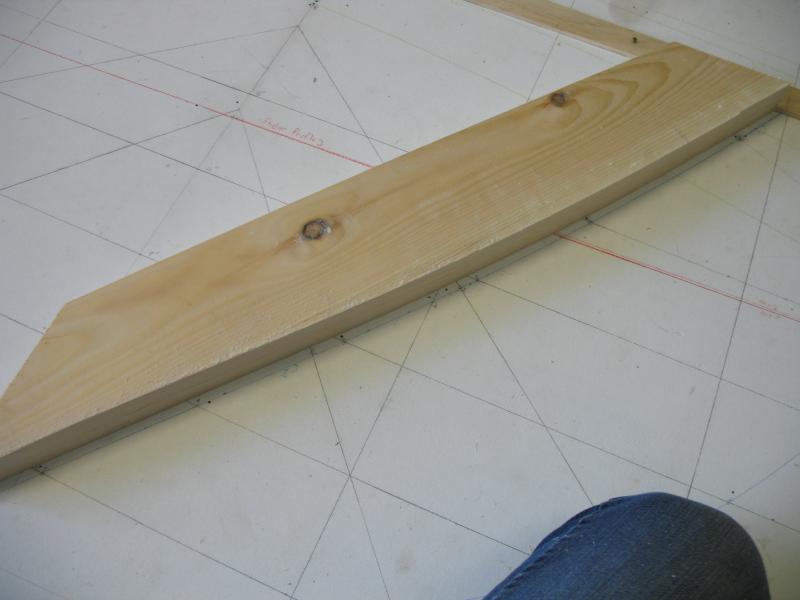
The strip of wood along the top of the pictures represents the building frame on which the molds will be erected (upside down). Greg Rössel in his book, Building Small Boats, suggests the strip of wood to make it easier to align the mold halves on the lofting as you pick up the shape and assemble the molds. Seems like a good idea that I don’t think I would have thought of on my own.
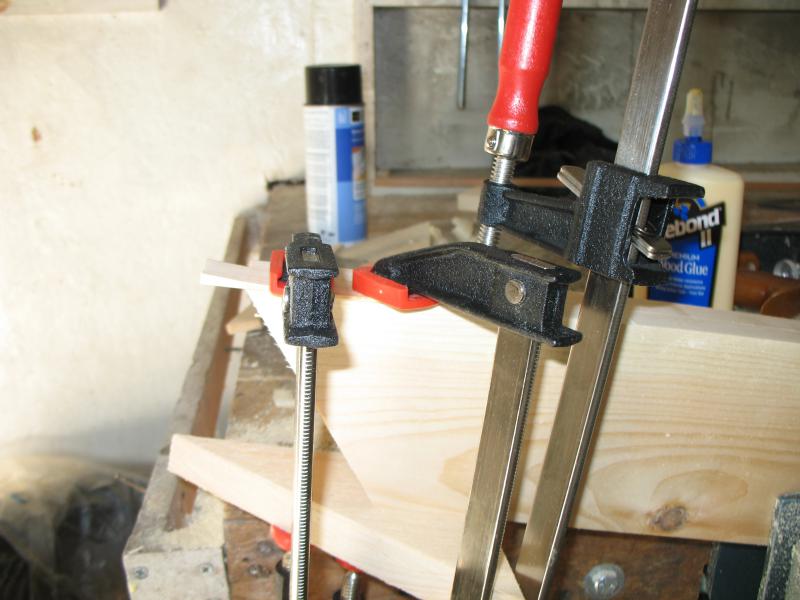
My complex relationship with the jig-saw struck again when I cut out the mold shape resulting in a bit of under-cut near the top of the mold profile on one half.

This ends up being right in the vicinity of the top edge of the shear plank, so I decided to glue in a strip of wood and then plane back to the correct shape. If I’m honest with myself, this probably isn’t necessary since it’s only shallow by about 1/16″, and there are no doubt loads of other tolerances I have missed and will miss by more than that. But, it bugged me enough that I didn’t want to be sweating it the whole time until I start planking and it seemed like a quick fix.
That’s as far as I got over the weekend. It feels good to be making progress again.

Leave a comment